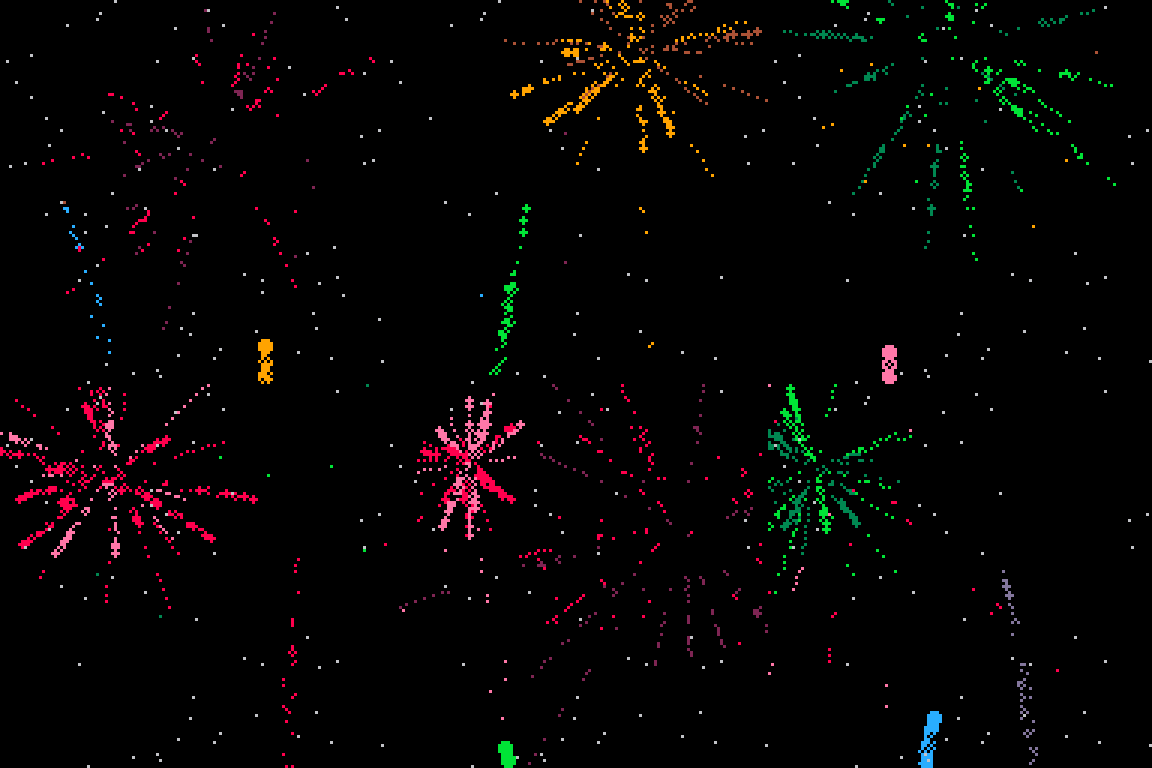
⭐️ In this tutorial we will learn how to create visuals by updating a bunch of particles~
 Fireworks by Trasevol_Dog (@URL)
Hello Table
In order to create particles we need to learn about tables.
Tables are like lists that you can add and remove stuff from. They are defined using curly brackets. They are similar to arrays in other programming languages. Note that Lua arrays are 1-based by default, not 0-based. FOREACH starts at TBL[1], not TBL[0].
For example we can have a table of numbers and loop through them using all:
cls()

-- create table with some values
t = {2, 3, 5, 7, 11}

-- add an additional value
add(t, 14)

-- loop through values in table
for v in all(t) do
  print(v)
end

-- access first value by index
-- note that lua starts from 1 instead of 0
print(v[1])
Tables can also be used to store fields. These are just named values that you can reference.
For example we can store some values in a table and then use them to draw a circle:
cls()

-- create a table with some properties
my_circ = {
  x = 30,
  y = 40,
  size = 10,
  color = 8
}

-- draw cirlce by using table fields
circfill(
  my_circ.x,
  my_circ.y,
  my_circ.size,
  my_circ.color
)
Hello Particles
Ok now that we know about tables, let’s make some particles dance!
Rain
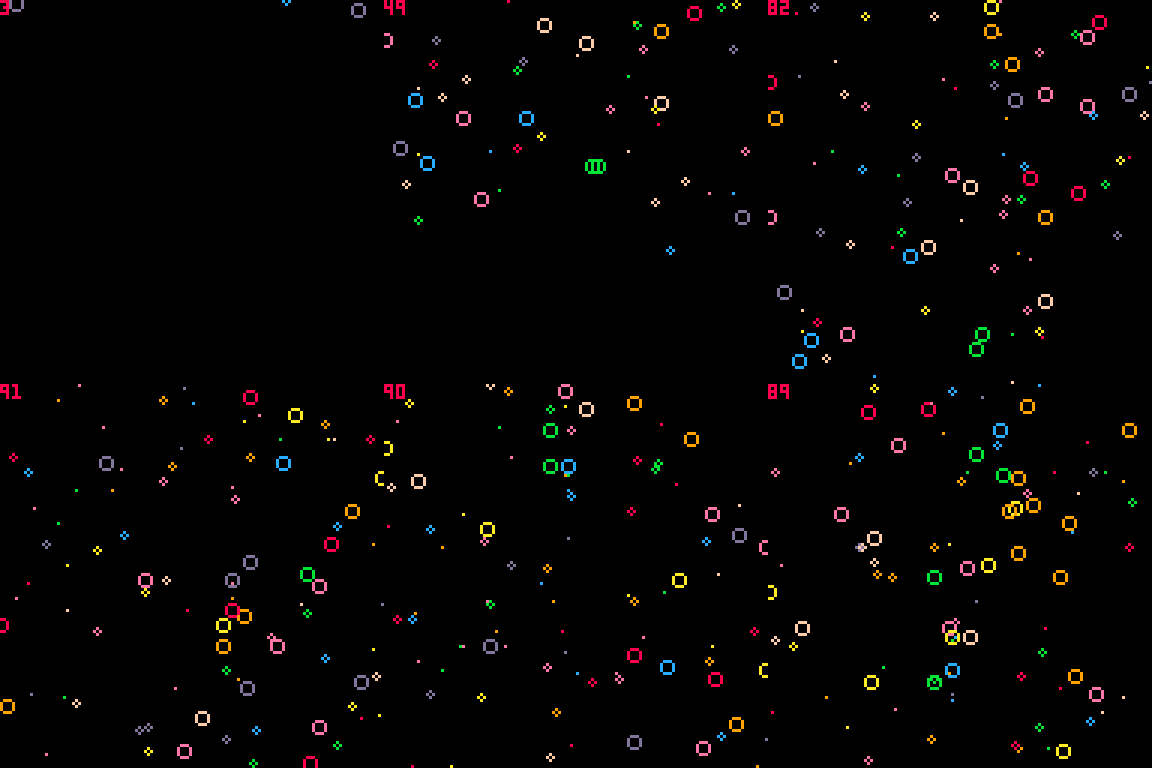
Let’s try to get a rain effect by making particles move from the top of the screen to the bottom.
We are going to have particles that have position, velocity, color, size and time:
function _init()
  particles={}
end

function create_particle(x,y)
  spd=1+rnd(1)

  p={
    x=x,
    y=y,
    vx=0,
    vy=spd,
    c=rnd(8)+8,
    s=rnd(3),
    t=0
  }

  add(particles,p)
end
We will then have a function that updates our particle by changing its position based on the velocity and deletes the particles when it passes the bottom of the screen:
function update_particle(p)
  p.y+=p.vy

  if p.y > 128 then
    del(particles,p)
  end
end
Lastly we will have a function that draws our particle, in this case we’ll represent it as a circle:
function draw_particle(p)
  circ(p.x,p.y,p.s,p.c)
end
Now let’s put these functions into update and draw to get things going. We will create a particle each update at the top of the screen:
function _draw()
  cls()

  create_particle(rnd(128),-5)

  for pt in all(particles) do
    update_particle(pt)
    draw_particle(pt)
  end

  -- print particle count
  print(#particles,0,0,8)
end
If you put all this code together you should get something like this:

Burst
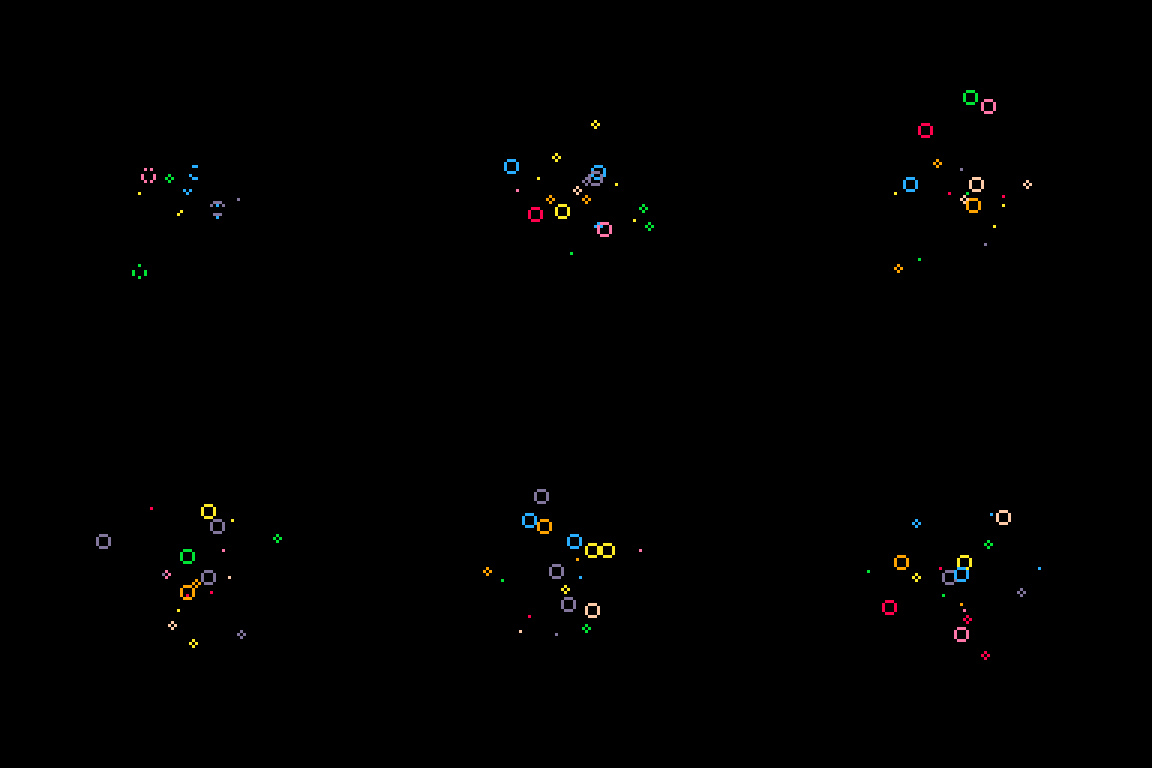
Alternatively we could move the particles outwards to create a burst effect:
Create:
particles={}

function create_particle(x,y)
  -- velocity in random direction and speed
  spd=1+rnd(3)
  a=rnd(1)
  vx = spd*cos(a)
  vy = spd*sin(a)

  local p={
    x=x,
    y=y,
    vx=vx,
    vy=vy,
    c=rnd(8)+8,
    s=rnd(3),
    t=0
  }

  add(particles,p)
end
Update:
function update_particle(p)
  -- update position
  p.x+=p.vx
  p.y+=p.vy

  -- slow down the particle
  p.vx*=0.9
  p.vy*=0.9

  -- update time and delete if old
  p.t+=0.05
  if p.t>1 then
    del(particles,p)
  end
end
Draw and update:
function draw_particle(p)
  circ(p.x,p.y,p.s,p.c)
end

function _draw()
  cls()
  create_particle(64,64)

  for pt in all(particles) do
    update_particle(pt)
    draw_particle(pt)
  end
end
Result:

You can load the code into pico-8-edu using this URL.
Exercise 🍓
Try messing around with the variables to see how the particles change. Can you get a different effect by changing how the particles behave?
Next
Appendix
Resources